
Yep, as it approaches the end of August it is time to start checking and preparing the pike tackle for the oncoming new pike season. Well, not a ‘pike season’ per se but for me I only pike fish between the 1st October until 31st March mainly for reasons of pike welfare… but that lies with me and my conscience and not incumbent on others. Also with the loss of the old coarse fishing close season (on stillwaters anyway) its nice to have an ‘event’ to look forward to.
Anyway, this piece is regarding an item of my pike tackle that I find indispensable for legered baits and how to make your own – the pop-up strip.
Basically the pop-up strip comprises a length of about 6” (depends on size of bait – needs to be just shorter than size of that) of closed-cell (ie does not soak in water and remains buoyant) polymer foam rod – usually of a flexible polyurethane material. It’s method of use is to insert into the mouth of your deadbait (well, if you tried it with a live bait (a) you are cruel and (b) you would then have a deadbait anyway) and pull through the body cavity to the tail end which makes the bait buoyant. You then add weight on the trace to sink the bait but placed the distance away that you want the bait to rise from the bottom.
OK, fairly simple to make, so I’ll run though my way of doing it…
Firstly source your foam rod… I use sizes of 8mm to 14mm diameter to allow choice of the best size for the intended bait. There are two ways of doing this – buy from an angling dealer at around £2 per metre (plus p&p if buying online)…
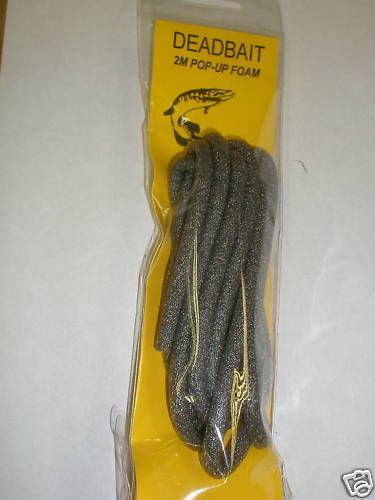
Or from a plumbers merchant or similar (called “Foam Sealant Joint Backer Rod” or suchlike) at around £2.50 for 10 metres (again liable to p&p if buying online but generally free if from eBay sources).

Right, you’ve now got the rod – you now need a couple of other items to make the pop-up stick my way…
- Long thin bait needle or mattress needle or doll needle that will pass through the entire length of the foam stick you are making (7” or more)
- Braid
- Small buttons (eg shirt buttons of slightly smaller size than the foam being used)
To make the stick…
- Cut off a desired length of foam stick from the bulk length. Assuming 6” for this example – if using longer or shorter lengths then braid measurements following may need adjustment to suit).
- Double a 24” length the braid (ie end up with a 12” doubled length).
- Tie the doubled braid so a separated small loop is made at the end of the folded braid.
- Feed on the small button so that it sits on the knot with one end of the doubled braid in each button hole (assuming 2-holed button, if 4-holed then any 2 diagonally opposed holes)…
So you should have now….

Continuing….
- If using a mattress/doll needle then thread the two loose ends of the braid into the eye of the needle…if using a long baiting type needle then you will need to pass needle through the foam stick so that the eye/hook/barb protrudes from the end and catch the two loose braid ends.
- Push or pull the needle as appropriate through the foam so that the two loose ends are pulled through and are hanging free.
- Thread on another button to the loose ends and knot the braid loosely so that the button is held to the foam but no compressing it.
- At this point you should have 2 loose ends of braid of 6” or so …
- At the end of one of the lengths tie a small loop and cut the other length off at the knot at the button…
- FINISHED!!

OK…so now to use.
- Using the short loop and using a suitable baiting needle fed down from the tail, pull the foam strip into the mouth of the baitfish and up to the tail end of the fish until the loop appears at the tail and can be disconnected from the needle.
- You should now have possibly a short length of foam jutting from the bait’s mouth , don’t worry about that, the pike certainly don’t! :D And also the longer length of braid with the loop at the end.
- Take that loop and pass the wire trace through it and clip as normal to your link connector on the
- Add weight (suggest using 2SSG or 3SSG size shot) to either the braid or wire trace to sink the now buoyant bait at a point which will allow the bait to pop-up to the desired depth (usually 3”-6”).
About why things are done as they are:
- Buttons – are added to act as buffer when pulling the foam through the bait to prevent it getting compressed down, the ‘short loop’ button heading the way clears the path and the ‘long thread’ button prevents the braid cutting into the foam at the other end.
- Long length braid + loop to wire trace – In the event of a pike taking the bait and spitting it out during play, or if the bait flies off accidentally on the cast then this system ensures that the foam is kept attached to the tackle and is retrieved so (a) you get to re-use it and (b) it doesn’t pollute the environment. Also if a pike so badly takes the bait that there is no option but to cut the trace away then it should still be possible to grab the braid and pull the foam free thus ensuring that this non-biodegradeable material is removed from the fishes digestive system where, left there, it could cause all sorts of problems.

Leave a comment